Cash Management
This page will provide you step by step instructions on how to start and end the cash drawer for the POS system.
Step 1: Once you have clocked into the POS, the register should prompt you to start a “Cash Drawer”. If it doesn’t prompt you, you have to manual start the cash drawer. To do this, select the three parallel bars located at the bottom left hand side of the register home screen. Then select “Reports”.
Step 3: The cash drawer has been started and you are now able to process transactions during your shift. This is an important step as it is the reference point for the register for calculating the difference in cash based on the transactions completed during your shift.
Step 5: The register will now ask you to enter in the actual amount of the cash in the drawer. You must count all of the cash and enter in the total amount. Label the “Drawer Description” as “[your name] Cash Out”, then select “End Drawer”.
Step 7: Once you have completed your count and everything looks good, select “Confirm End Drawer”. If there is a difference, the next step is to fill out a deposit slip (see Step 8).
Step 9: Cash Drawer has ended.
Step 2: Select “Current Drawer” and enter the starting cash amount of $350.00, then select “Start Drawer”.
Step 4: Once you booking is completed, it is now time to start the financial management. Start by closing the cash drawer. Follow step 1 then select “End Drawer”.
Step 6: The register will now display all of the types of transactions with their corresponding amounts. It will also display the difference. Important note: There should never be a negative difference unless there was a “Paid Out”. Scroll below to learn about “Paid In/Out”.
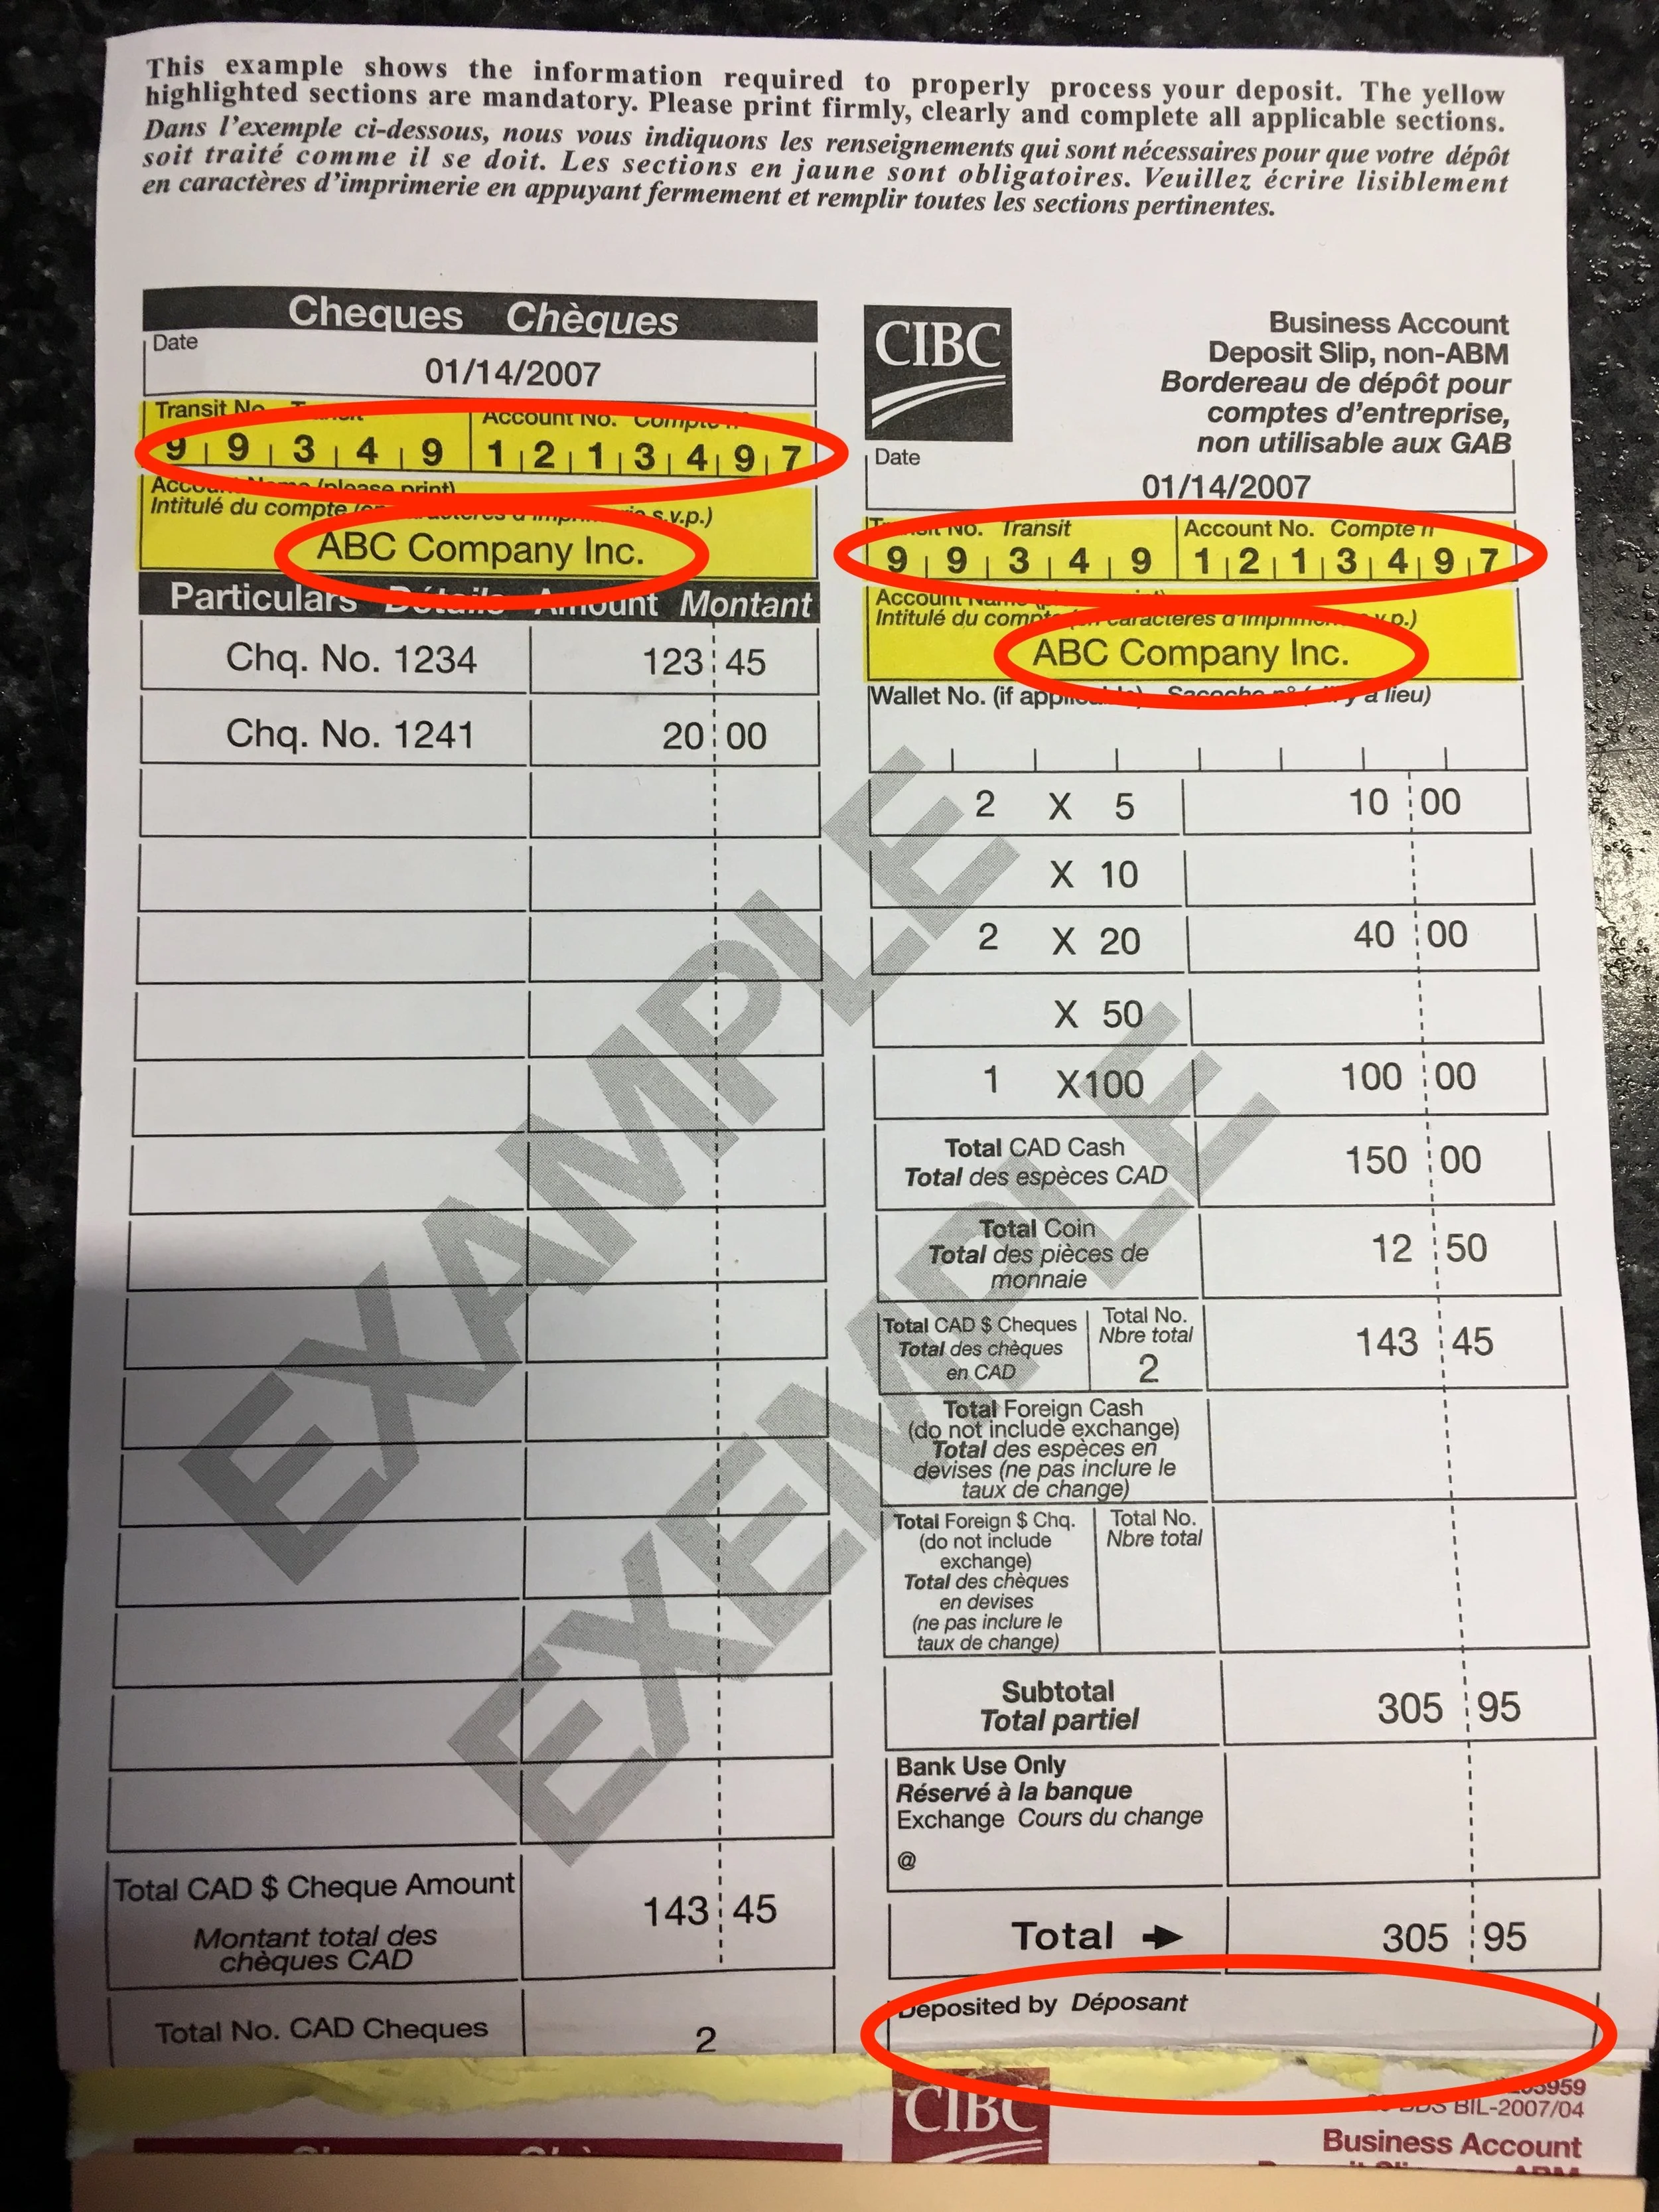
Step 8: To fill out a deposit slip, enter the date, our transit and account number, and the company name. That information can be found here:
Transit #: 00542
Account #: 4076818
Account Name: Global Axe Throwing Inc.
Next, fill out all of the cash/coin that makes up the cash drawer difference. You can choose what cash or change you want to put into the slip. For example, if there happens to be a lot of change, you can make the deposit mostly change. As long as it adds up to the difference that is supposed to be deposited.
Write your name in the “Deposited by” section.
Lastly, place the cash/coin and deposit slip in a zip lock bag then place it in the small grey deposit safe.
Paid In/Out
This will allow you to add or exchange cash in the till. For example, if you are running low on coin, you can “Pay Out” $50 in bills and then “Pay In” $50 in coin.
Step 1: Select “Current Drawer” then select “Pay In/Out”.
Step 2: Enter the amount that you are paying in/out, enter the description then select the method that you are doing. Examples of descriptions: “change for drawer, cash for drawer, or cash for [specific] for the business"


![Step 5: The register will now ask you to enter in the actual amount of the cash in the drawer. You must count all of the cash and enter in the total amount. Label the “Drawer Description” as “[your name] Cash Out”, then select “End Drawer”.](https://images.squarespace-cdn.com/content/v1/5b4f3e104eddec73df84e7c3/1561592446170-2T4SZMRQLNJ4H233XAS6/Cash+Management+5.PNG)


![Step 2: Enter the amount that you are paying in/out, enter the description then select the method that you are doing. Examples of descriptions: “change for drawer, cash for drawer, or cash for [specific] for the business"](https://images.squarespace-cdn.com/content/v1/5b4f3e104eddec73df84e7c3/1561742062300-KHT3WKFZ2A7FJE9PQO2S/Paid+In%3AOut+2.PNG)